Step 1: Navigate to 'General settings'
- Log in to the Ronspot admin panel.
- In the left menu, go to
Account > General settings
Step 2: Locate the company logo section
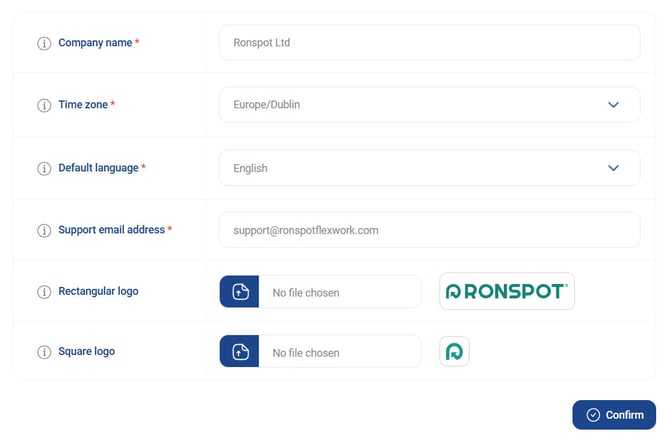
- In the
Company settingstab, locate these two settings- Rectangular logo: This version is displayed on wider screens and larger layouts of the Ronspot app. Minimum width of 100px. Maximum file size: 1MB.
- Square logo: This is used in smaller and square-format displays on the Ronspot app. Minimum width of 100px. Maximum file size: 1MB. Aspect ratio: 1:1.
Step 3: Select your company logo
- Click on the blue button.
- A file explorer window will appear, allowing you to browse files on your computer.
-
Locate and select your company's logo file.
Step 4: Upload your logo
- After selecting the file, click on the
Confirmbutton. - The system will upload and save the new logo.
Notes:
- Once uploaded, your company logo will replace the default Ronspot logo on the Ronspot mobile app that employees use.
- The logo change will only be reflected in the mobile app used by employees. It will not affect the admin panel nor the web app.
By following these steps, your company's branding will be prominently displayed on the Ronspot app, providing a more personalized experience for your employees. If you encounter any issues or need further assistance, please contact Ronspot support.